HubSpot CMS
How to Quickly Enable SSL on HubSpot CMS Website?
You'll quickly learn how to quickly enable SSL on HubSpot CMS website. All HubSpot CMS plans and Marketing plans comes with free SSL and will only...

Looking to use the free 2,000 emails a month limit provided by HubSpot? Well, in order to send your email campaigns, you need to setup Email Sending Domain in HubSpot.
The process is fairly simple and is going to take around 5-10 minutes but might take one full day (24 hours) for the emails to start delivering via your specific domain.
Prerequisite
Like I said, the process is simple. Follow the instructions mentioned below.
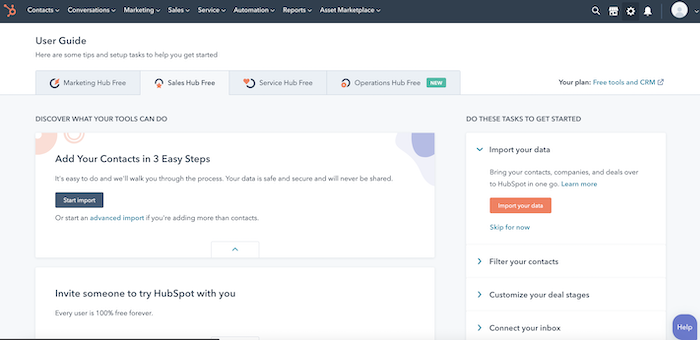
Step 1: Login to your HubSpot account and click on the Gear icon on top right corner. It will lead you to the Settings section.
Step 2: Start scrolling down in the left side till you reach to the Website section (available under Marketing section). From the dropdown here, click on the Domain & URL link.
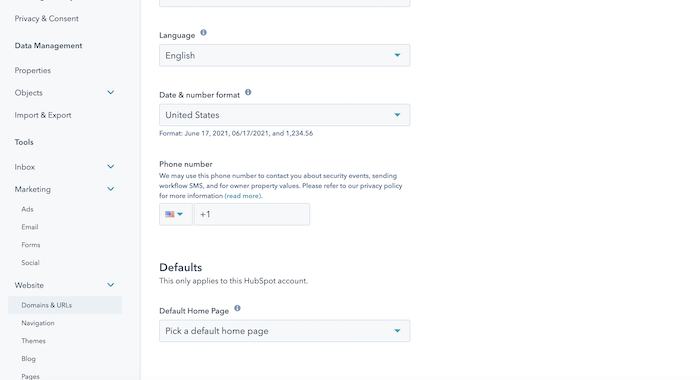
Step 3: This is where you can connect your own domain which will be used for various software inside HubSpot (like CMS). Click on the button which says Connect a domain.

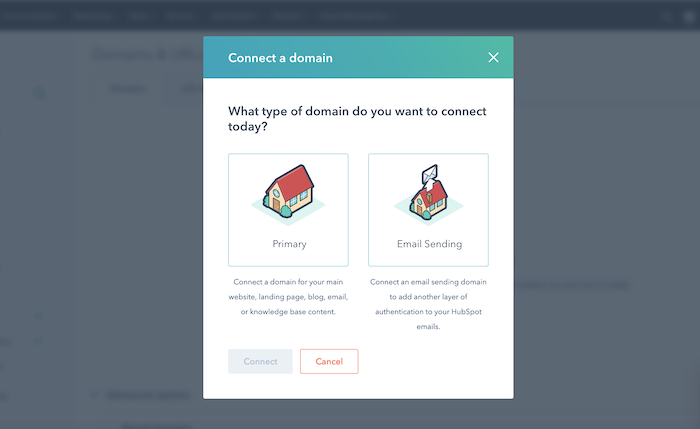
Step 4: From the popup appeared, click on Email sending option. Click on Connect button to proceed.
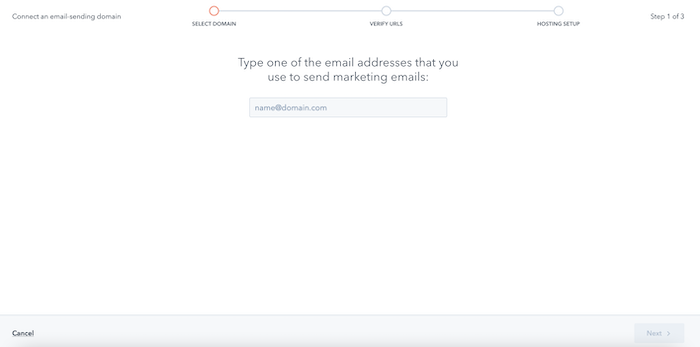
Step 5: This is where you'll enter the domain you wish to connect and use primarily to send email campaigns. Once entered, click on Next button. Click on the Next button again.
Step 6: Now simply follow the screen instructions. HubSpot has mentioned the instructions very smartly for you to quickly follow.
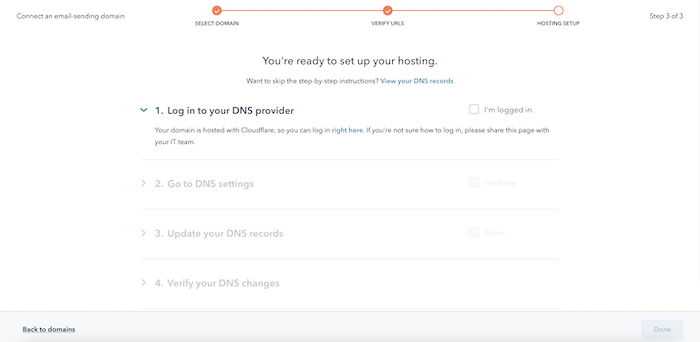
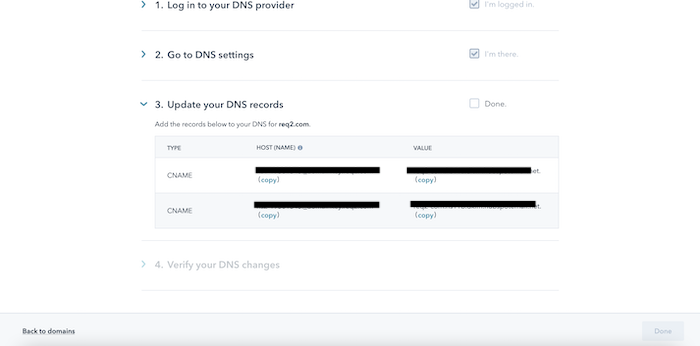
Step 7: Add the CNAME records to the DNS of your domain. Once done, it will verify the records instantly which is not going to work as DNS changes can take from 5 minutes to 24 hours to propagate. We recommend buying domains from Dynadot and using Cloudflare for managing DNS.
Step 8: Click on the Done button to finish this process.
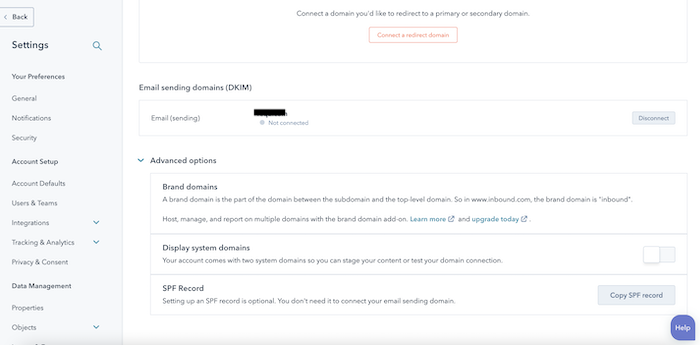
This final step is not required but it is recommended to prevent email sending abuse. You can learn more on what SPF records are over here.
That's it! If you found this whole process too technical, feel free to reach out to us and we will do this whole setup on your behalf. In case, you're considering a website design change, checkout our premium HubSpot themes.
Let us know if you've any related questions in the comment section below.
You'll quickly learn how to quickly enable SSL on HubSpot CMS website. All HubSpot CMS plans and Marketing plans comes with free SSL and will only...
Quickly configure Google Analytics GA4 on HubSpot website. I've compiled tutorial steps with screenshots to make the GA4 HubSpot setup super easy for...
Learn how to install HubSpot theme via .zip file or marketplace methods. The HubSpot theme installation is easy and will take 5 minutes.
Leave A Reply