Productivity
How to Move Columns in Excel
In this article, you'll learn where and how to move columns in excel with your cursor and relocate a few of the columns at a moment.

Trying to keep track of anything on your computer while working with a lot of spreadsheets might be tough. When working with a tiny sample of data, it's one comparison to make one or two rows of information, but when a dozen rows are included, things become complicated. But we've not gotten started on columns yet.
There is just one remedy when your spreadsheets get impossible to manage: How to freeze a row and column in excel. Freezing rows and columns in Excel makes it much easier to navigate through your spreadsheet.
When implemented right, the selected panels are locked in place; this means that those precise rows are always displayed, regardless of how far downwards you scroll. Most of the time, you'll just freeze a few rows or columns, but Excel doesn't restrict how many you may freeze, which is useful for bigger sheets.
This tutorial is compatible with Microsoft Excel 2016 and subsequent versions. This solution, however, also works with Google Sheets, OpenOffice, and LibreOffice. Are you ready to get started?
To know how to freeze a row and column in Excel, follow these simple steps:
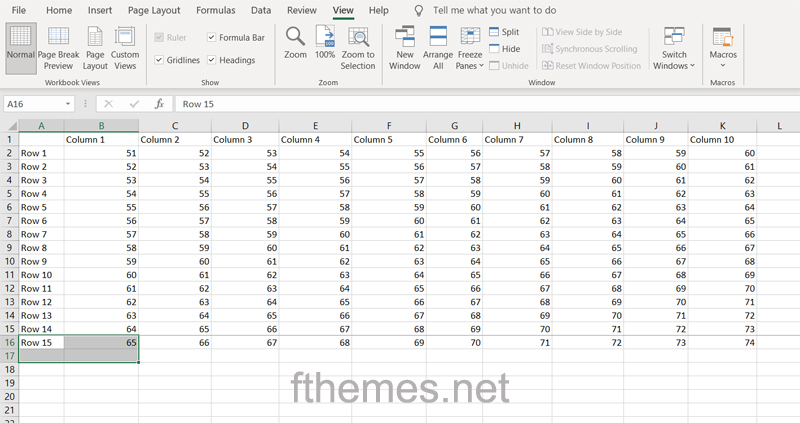
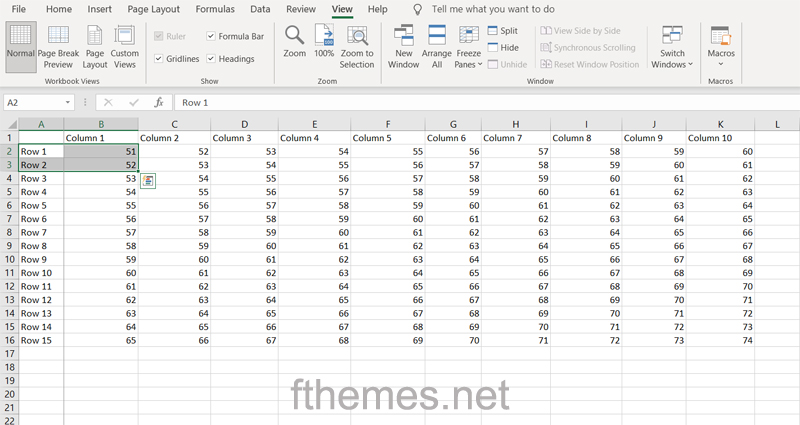
You must first confirm that you are in the correct view mode before you can begin freezing and locking. Switch to the View tab in your Ribbon interface after launching Excel and the document you're working on, and make sure the Normal view is chosen. After you've finished this, you may move on to the next steps, which are outlined below.
Step 1: First, you need to select a cell that is located below the last row on the right of the last column which you wish to freeze.
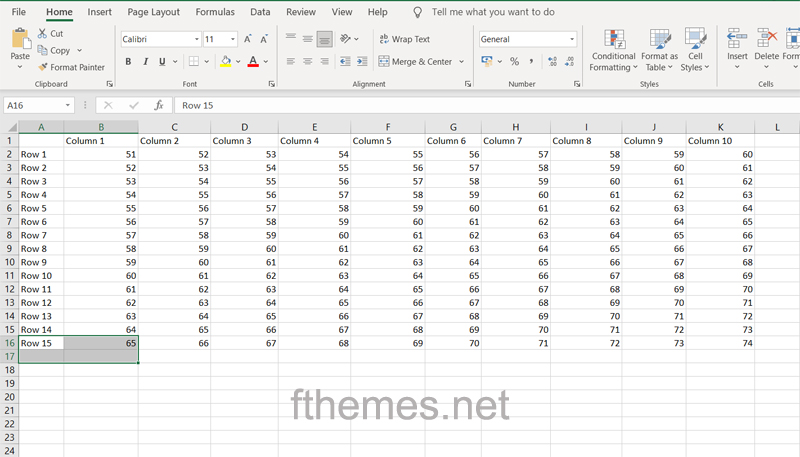
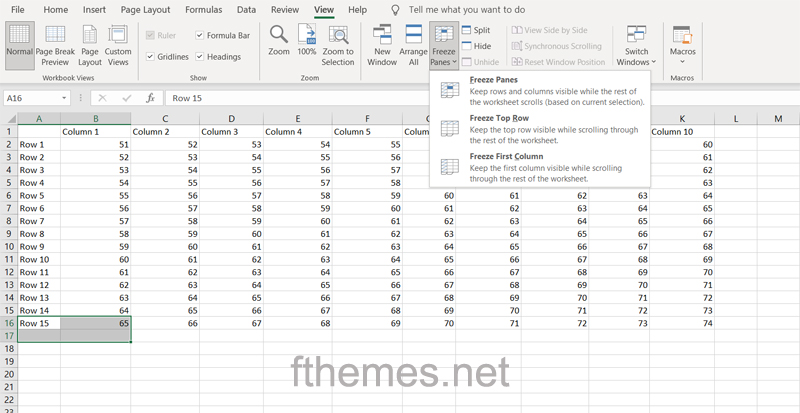
Step 2: On the View tab, you need to tap on the option to Freeze Panes.
Step 3: Next, you just need to click Ok and it’s done. Your rows and columns selected have been frozen and secured.
Step 1: In Excel, open the document you wish to work on.
Step 2: Navigate to the View tab in your Ribbon interface, which is situated at the top of the Excel window.
Step 3: Select the Freeze Top Row option. This will immediately freeze and lock the first row of your document.
Step 4: When the row freezes, the bottom line of the row becomes darker than the other lines, indicating that the row is now frozen.
Step 1: In Excel, open the document you wish to work on.
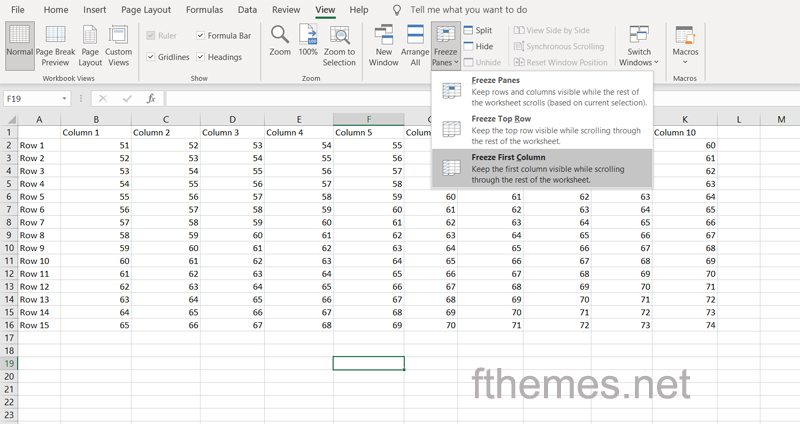
Step 2: Navigate to the View tab in your Ribbon interface, which is situated at the top of the Excel window.
Step 3: Select the Freeze First Column option. This will automatically freeze and lock the document's first column (A).
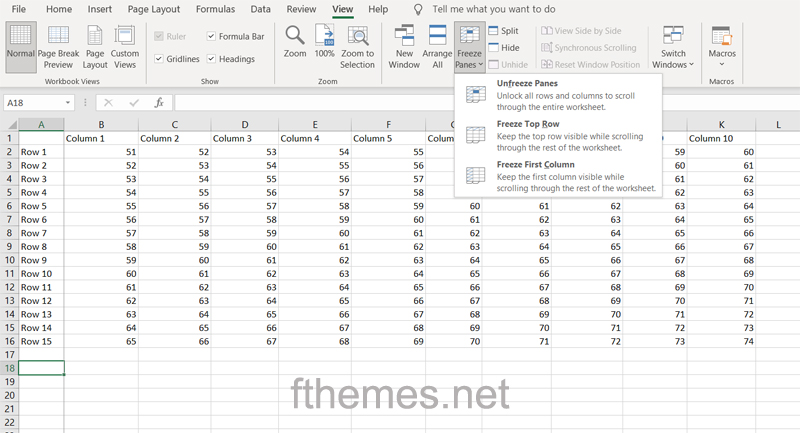
Step 4: The freeze is represented by the right-hand column line being darker than the other lines, indicating that the column is now frozen.

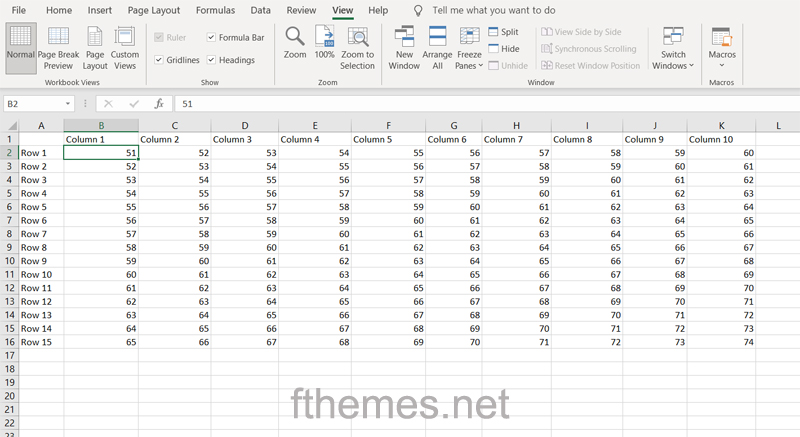
Step 1: In Excel, open the document you wish to work on, then pick the B2 cell.
Step 2: Navigate to the View tab in your Ribbon interface, which is situated at the top of the Excel window.
Step 3: Select the Freeze Panes option. This will automatically freeze and lock the document's first row and column (1 and A).
Step 4: The bottom line of the row and the right-side line of the column become darker than the other lines, indicating that they are now frozen.
Note: Freezing multiple columns and/or rows is easy as long as the top row and column of your document are included. All you have to do is choose the column to the right of the final column you want frozen, then select the row below the last column. Next just tap on the Freeze Panes.
Another method for freezing cells in Excel is to divide a worksheet region into sections. The distinction is as follows:
When you freeze panes, you may keep select rows or columns visible while scrolling through the spreadsheet.
Splitting panes breaks the Excel window into two or four sections that may be navigated independently. When you scroll within one region, the cells in the next area(s) remain static.
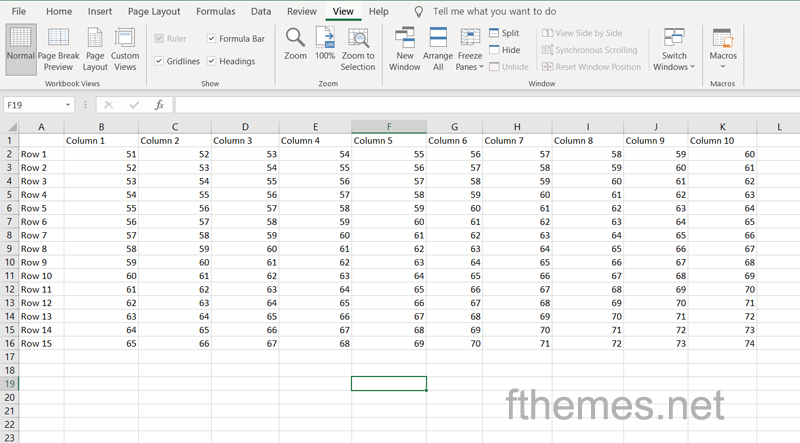
To divide Excel's window, pick a cell below the row or to the right of the column where the split is desired, and then click the Split button on the View tab > Window group. To reverse a split, click the Split button once again.
The lesson demonstrates how to freeze cells in Excel so that they remain visible when you browse to another section of the worksheet. This article has extensive instructions for locking a row or several rows, freezing one or more columns, or freezing a column and a row at the same time.
When dealing with huge datasets in Excel, it is common to wish to lock some rows or columns so that you can access their contents while navigating to another region of the worksheet. This is simple to accomplish using Excel's Freeze Panes command and a few other capabilities.
It's worth noting that under the Freeze Panes command, you can also select "Freeze Top Row", which would freeze the visible top row (and any ones above it), or "Freeze First Column", which will keep the leftmost column visible as you scroll horizontally. The freeze panes feature, in addition to allowing you to compare various rows in a long spreadsheet, also permits you to keep key information, such as table headings, constantly visible.
Freezing a row or column in Excel is a great method to improve not only the aesthetic but also the functionality of your spreadsheet. Frozen (also known as locked) rows, columns, or individual cells remain on your screen even as you scroll, allowing you to establish headers and crucial data inputs.
You can reach out to our HubSpot experts to troubleshoot any particular issue you’re facing or have a custom HubSpot development requirement. If you’re having short on resources to take care of the CMS Hub configuration and other day to day HubSpot tasks, check out our HubSpot CMS management service by FThemes.
Talk soon!
In this article, you'll learn where and how to move columns in excel with your cursor and relocate a few of the columns at a moment.
This article is the quickest and most efficient method to add columns in excel of one or more neighbouring or non-adjacent columns.
You can rapidly hide & unhide columns & can also hide and expose hidden rows in MS Excel. Learn all methods to unhide rows in excel.
Leave A Reply