Productivity
Quick Tutorial on How to Add Columns in Excel
This article is the quickest and most efficient method to add columns in excel of one or more neighbouring or non-adjacent columns.

In this article, you'll learn where and how to move columns in excel with your cursor and relocate a few of the columns at a moment.
Both of these are sometimes thought to be impossible, but there is a feature that allows us to move non-adjacent columns in Excel 2016, 2013, and 2010 with a single click.
When you use Excel tables frequently in your regular tasks, you believe that no matter how rational and very defined a table's layout is, you must reorganise the columns from time to time. For instance, you might have to flip several columns so that you can see their information beside each other.
You may, of course, try to conceal the nearby columns for a while, but that's not always the most suitable option since you might have to view the information in any of those columns as well. Interestingly, Microsoft Excel doesn't really give a simple solution to execute this basic task. Whenever you try and bring a column name that looks to become the most apparent way to shift columns, you may be surprised to discover that it will not perform.
As previously said, shifting columns in Excel is somewhat a more complicated technique than one may assume. In truth, it was one of those occasions when "easier said than done" applies. Perhaps it's simply your lack of expertise. Nonetheless, after some effort, you will easily be able to get it to work if you know how to move columns in excel.
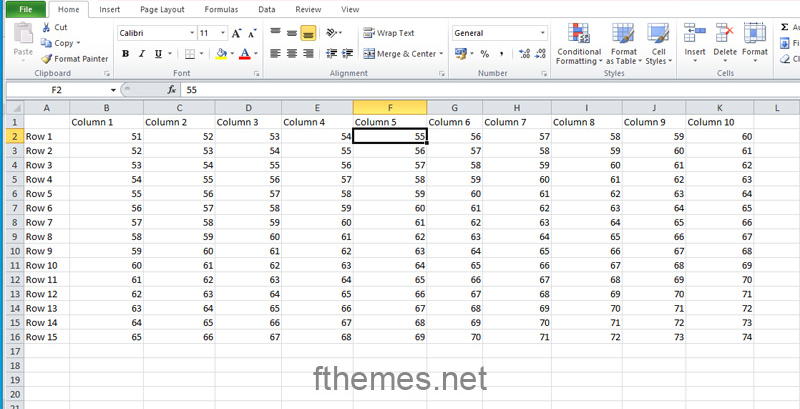
Let's assume you have a spreadsheet containing information about your company's items and need to rapidly replace a handful of columns. Check out the steps given below to do it in the right way:
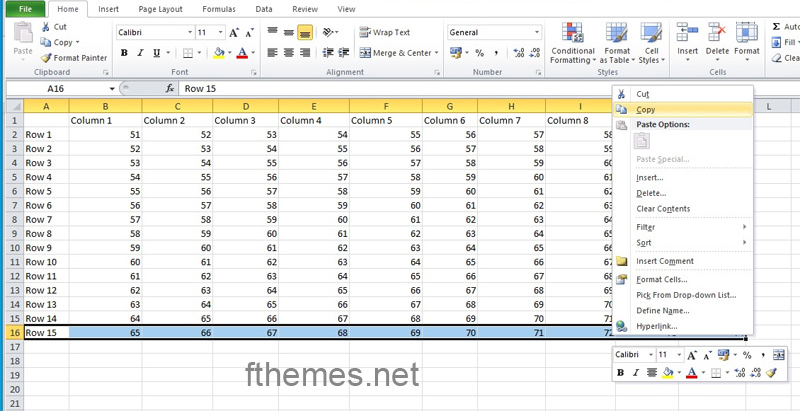
Step 1: Choose the column you wish to reposition.
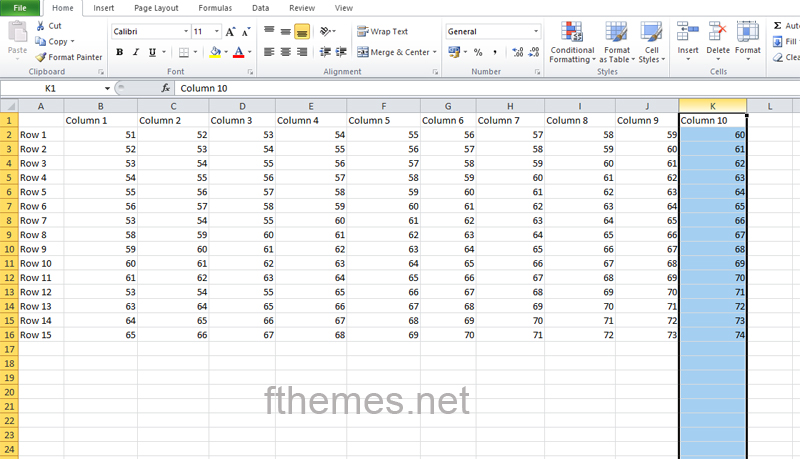
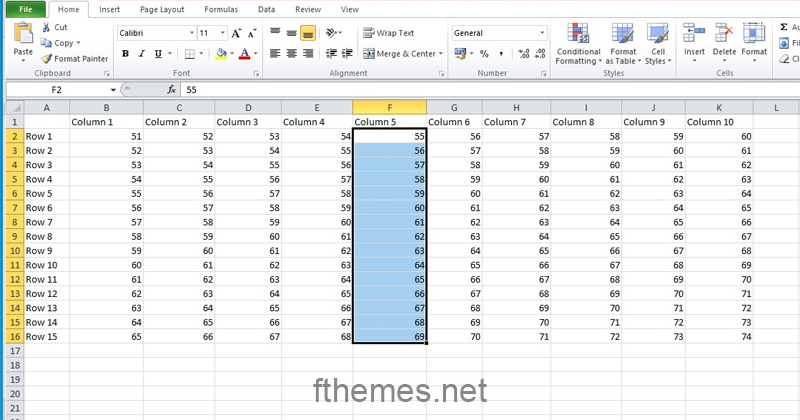
Step 2: Place the mouse cursor on the selection's border until it transforms from a conventional cross to a 4-sided arrowhead pointer. You should avoid doing this anywhere near the column header because the cursor can take on a variety of forms in that space. However, as demonstrated in the screenshot, it functions well on the right or left edge of the selected column.
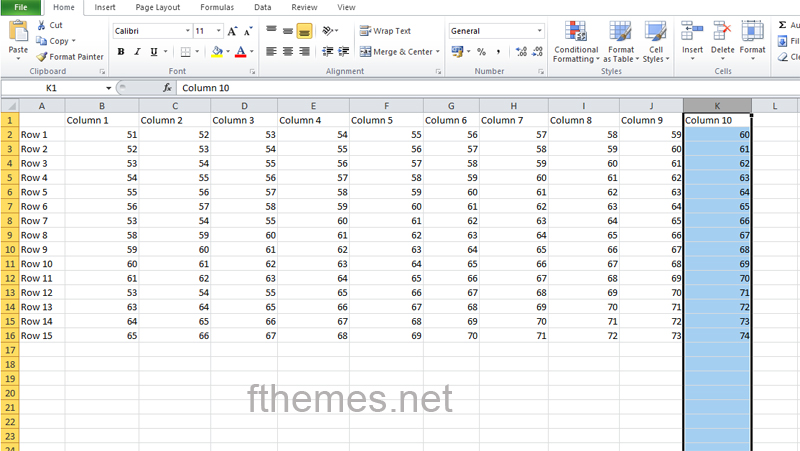
Step 3: Tap and hold the Shift key and move the column to a new spot. There will be a tiny "I" bar all along the length of the column, as well as a checkbox showing where the new column would be relocated.
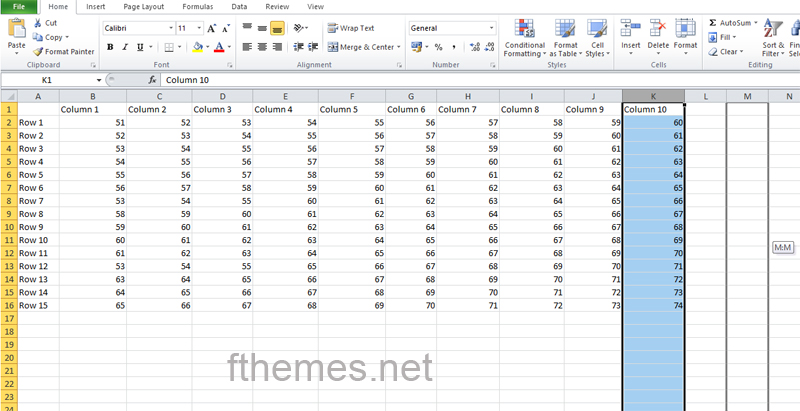
Step 4: This is all! Drop the mouse button, then let go of the Shift key, and you'll see the column has shifted to a new location.
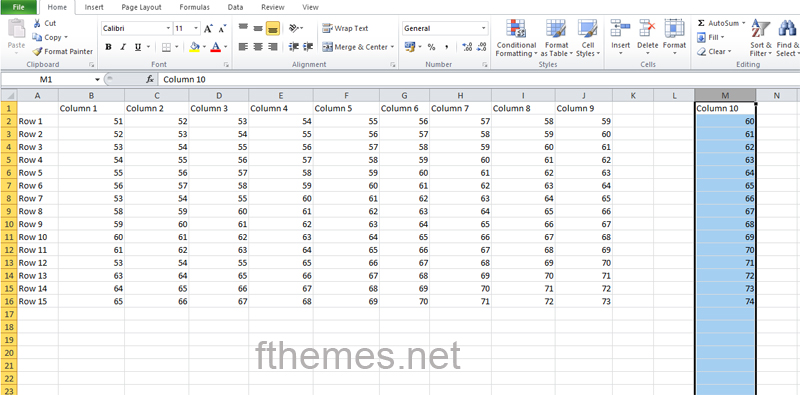
Step 5: You can repeat the same step to move all the columns without overwriting them.
Note: You may apply the same method to dragging several columns in your Excel table. To select several columns, click the first column heading, press and hold Shift, and then click the final column heading. Then, to shift the columns, repeat steps 2 through 4. In Excel, it is not feasible to drag non-adjacent columns and rows. Drag and drop works in Microsoft Excel 2016, 2013, 2010, and 2007, and it may also be used to move rows. It may take some effort, but once learned, it may be a huge time-saving.
We all have different perspectives on data. Some individuals, for example, design Excel spreadsheets with the major fields horizontal. Others like the data in columns to be flipped vertically. These settings might sometimes lead to the need to transpose Excel data.
Microsoft must have foreseen this problem because they provide many techniques in Excel for converting rows and columns and knowing how to move columns in excel. In layman's terms, the transpose function flips the orientation of your columns (vertical range) and rows (horizontal range). Your original data rows would be converted to columns, and my columns would be converted to rows.
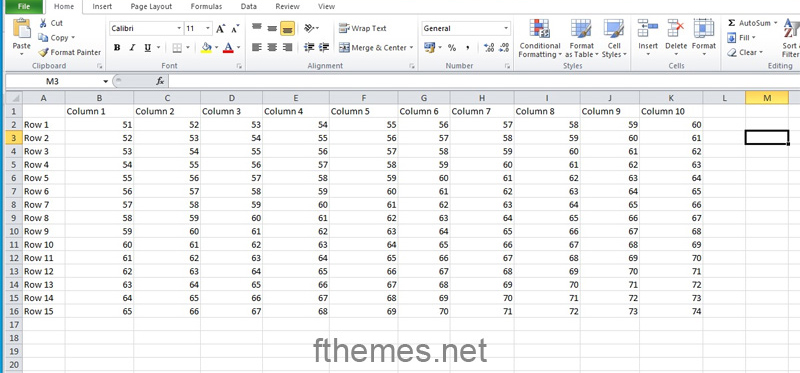
Step 1: First, you need to select and open the spreadsheet that needs to be modified. You can also go ahead and try it on some sample sheets available online.
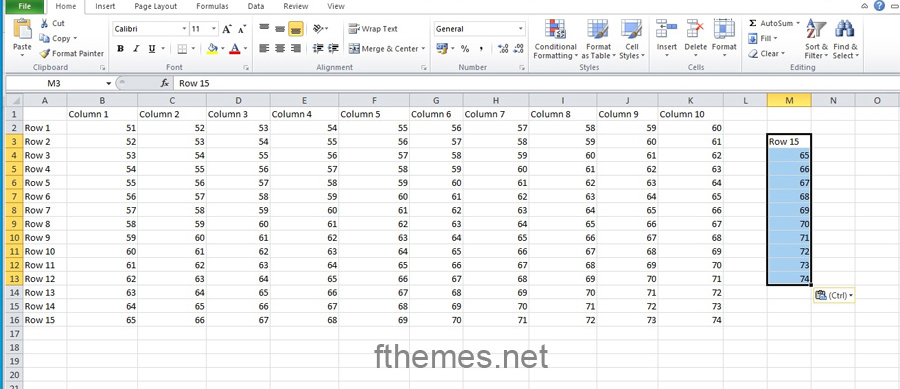
Step 2: Next you need to select the first cell in your data range, take, for example, F2.
Step 3: After that just Shift-click the range's final cell. You will notice that your data set has been already emphasised.
Step 4: Now just tap on the Copy option from the Home tab, or press Ctrl + C shortcut key to do the same.
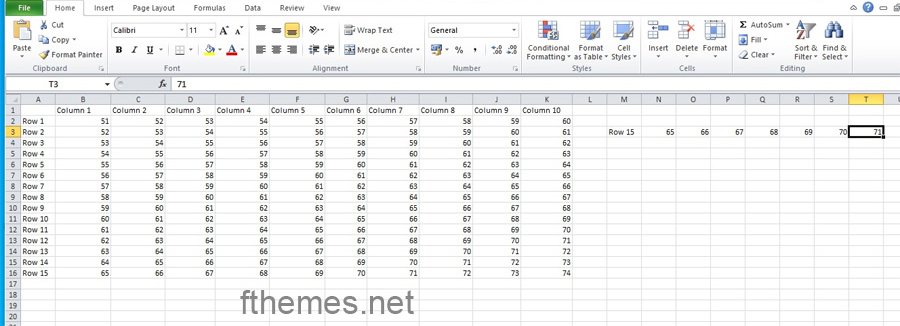
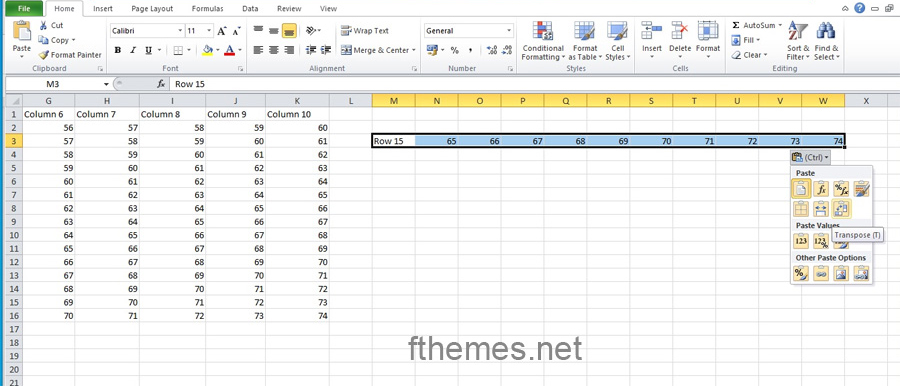
Step 5: Select the new cell in which you wish to transfer your transposed data.
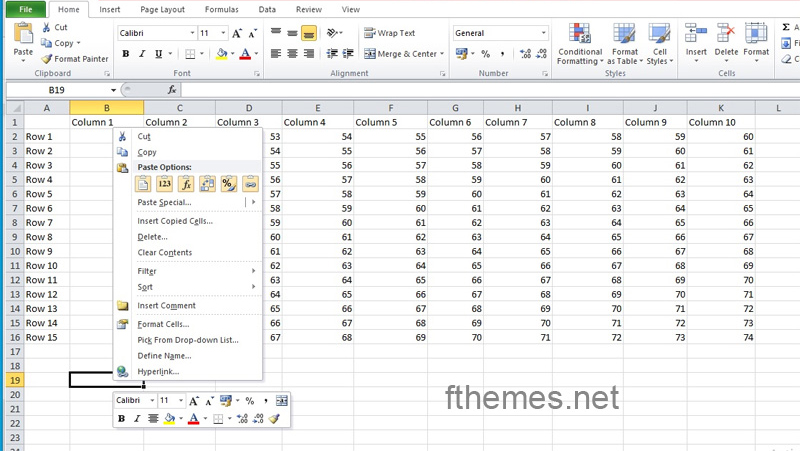
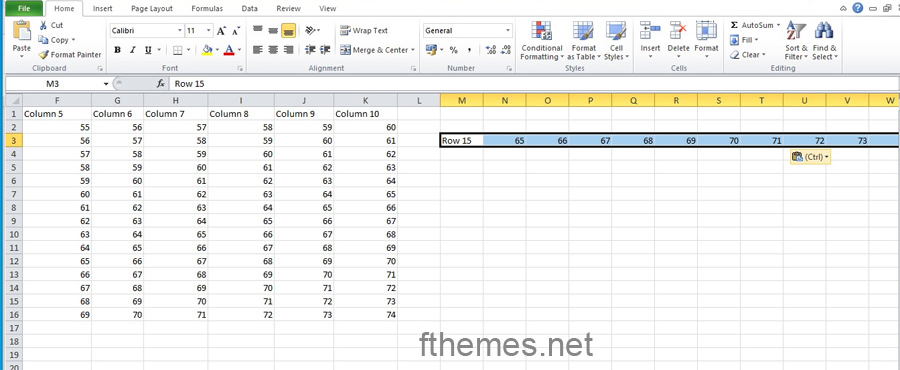
Step 6: Finally, Right-click in that column and choose the Transpose icon from the Paste menu. You will notice that your columns have been shifted to rows.
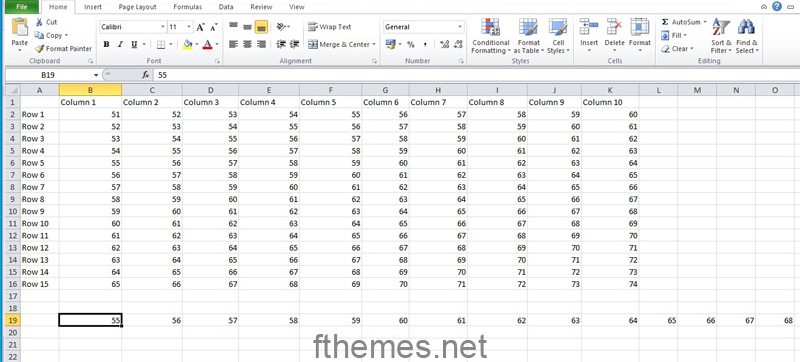
Note: The data layout changes as you hover over the Paste choices. You should now be able to see your data with the columns and rows reversed. Columns may be resized to meet your needs. These two data sets are distinct. You can remove cells from the top set without affecting the transposed set. When you use this strategy, your original formatting is preserved.
On any given day, you would want to create several rows and columns, and then enter all the data and information, but this may be difficult to keep track of. One of the most typical errors after mistakenly inputting data is transposing columns and rows. You understand, like when you place the names at the head of each column rather than the times, or vice versa. The same is true for rows: rather than entering the desired data to the column, you're suddenly left with a row-formatted data entry.
Transposing rows to columns in Excel is a simple process if you know how to move columns in excel. Perhaps better, the functionality of Google Sheets, OpenOffice, and other spreadsheet apps is nearly comparable. In Microsoft Excel, here's how to convert columns to rows and vice versa.
Step 1: First you need to open your excel sheet and then choose a blank workbook.
Step 2: Next you need to enter the data that you wish to shift around from a row to a column or whatever.
Step 3: Now just select and copy the entire data or information by right-clicking on your mouse and choosing the option copy.
Step 4: Next just tap on a new location in the sheet where you wish to transport all your data.
Step 5: Again right click and choose the option paste or the shortcut key Ctrl + V.
Step 6: At the bottom, you will notice a Special Paste box pop-up where you need to tap on the transpose option.
Step 7: Just tap on OK and transpose your rows and columns.
Note: When working with Excel, you may believe that the two options are to copy/paste the information into the right location or to start over. This, however, would be incorrect. There's a quick workaround under the Paste Special option that lets you reverse your mistakes and columns to rows without having to start over. Everything will be transposed.
If you know VBA, you might attempt writing a macro to automate the movement of columns in your Excel files. In theory, this is correct. You’d probably spend more time determining which columns to swap and establishing their new locations than moving the columns manually. Furthermore, there is no assurance that the macro will always perform as planned, and you will need to validate the outcome each time. Overall, a VBA macro does not appear to be appropriate for this purpose.
You can reach out to our HubSpot experts to troubleshoot any particular issue you’re facing or have a custom HubSpot development requirement. If you’re having short on resources to take care of the CMS Hub configuration and other day to day HubSpot tasks, check out our HubSpot CMS management service by FThemes.
Talk soon!
This article is the quickest and most efficient method to add columns in excel of one or more neighbouring or non-adjacent columns.
Freezing rows and columns makes it easier to navigate your spreadsheet. This article helps you learn how to freeze a row and column in Excel.
You can rapidly hide & unhide columns & can also hide and expose hidden rows in MS Excel. Learn all methods to unhide rows in excel.
Leave A Reply